从零开始搭建自己的博客 六:美化网页
接下来我们就要开始美化我们的网页了。
消除页面周围空白
首先,我们会发现,网站页面周围有一圈空白。
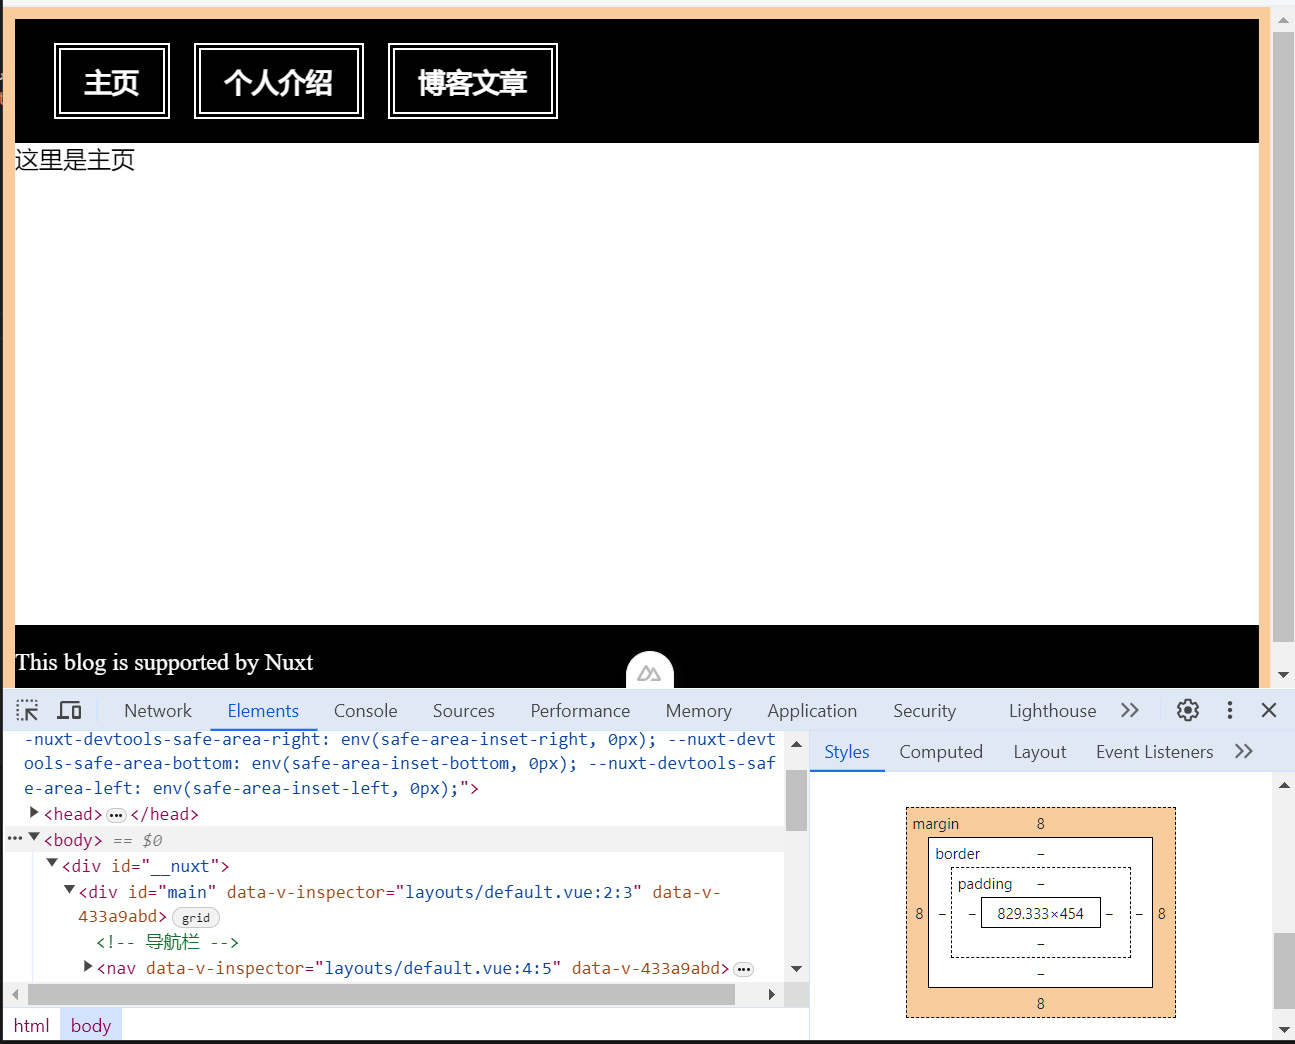
借助浏览器开发工具,我们可以看出,这一圈空白是 <body/> 元素的 margin。接下来,我们要把该元素的 margin 设为 0。
打开项目根目录下的 app.vue,之后在该文件的 <style> 部分里面添加如下内容:
/* @/app.vue */
  body {
    margin: 0px;
  }
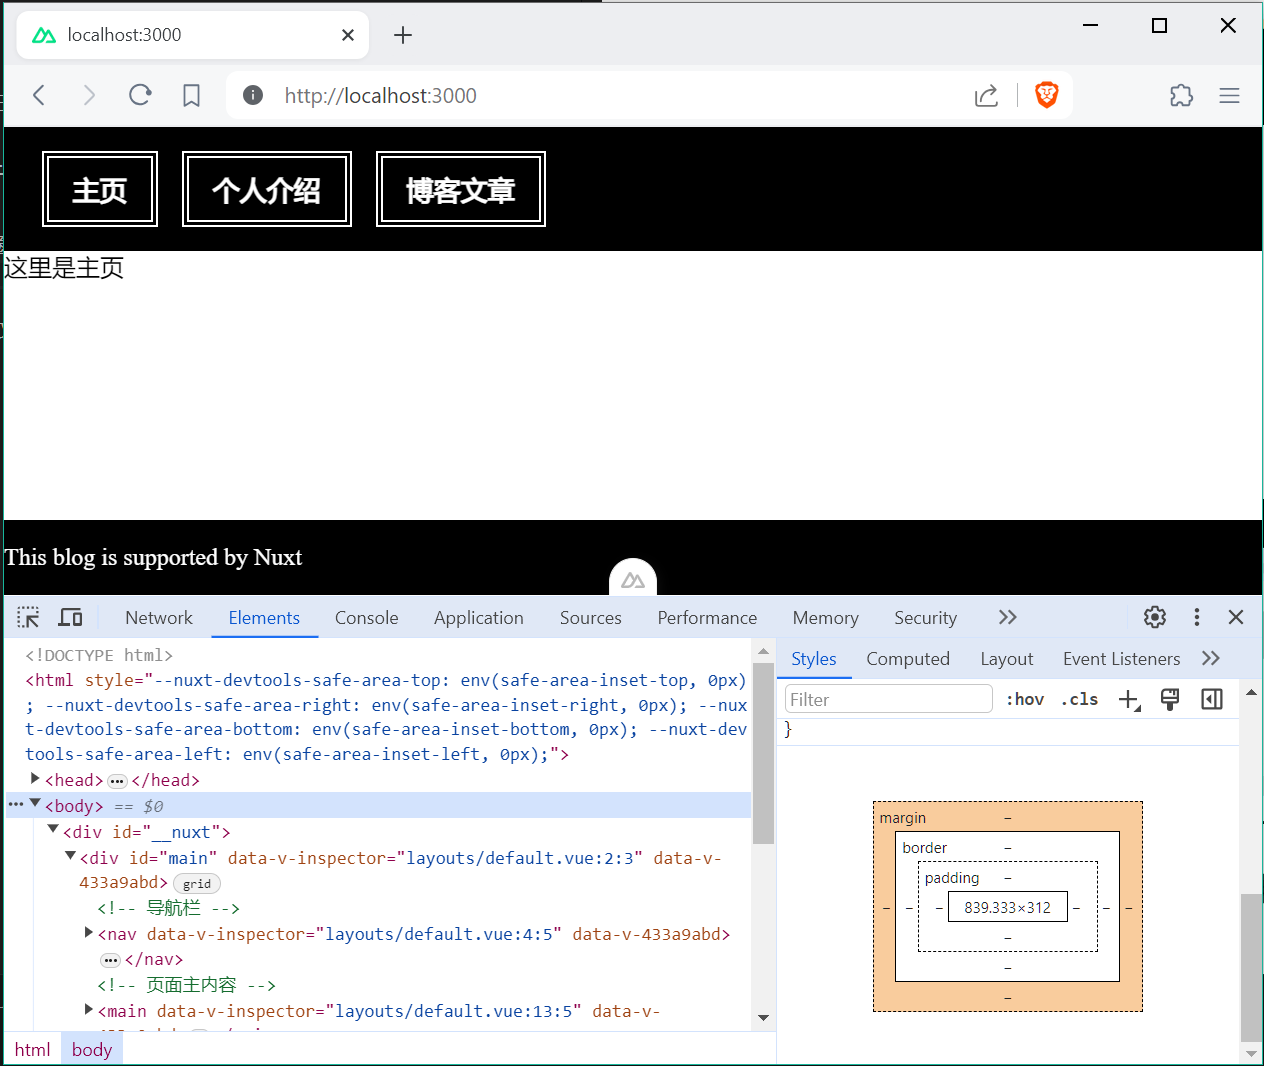
之后,页面周围空白就消失了。
设置页面左边距和右边距
接下来设置一下左右边距,这样可以让页面在宽屏上显示时更美观一些。
首先在默认布局文件,也就是 @/layouts/default.vue 里的 <style> 部分添加如下内容:
  @media screen and (min-width: 1000px) {
    #main {
      max-width: 1000px;
      margin: auto;
    }
  }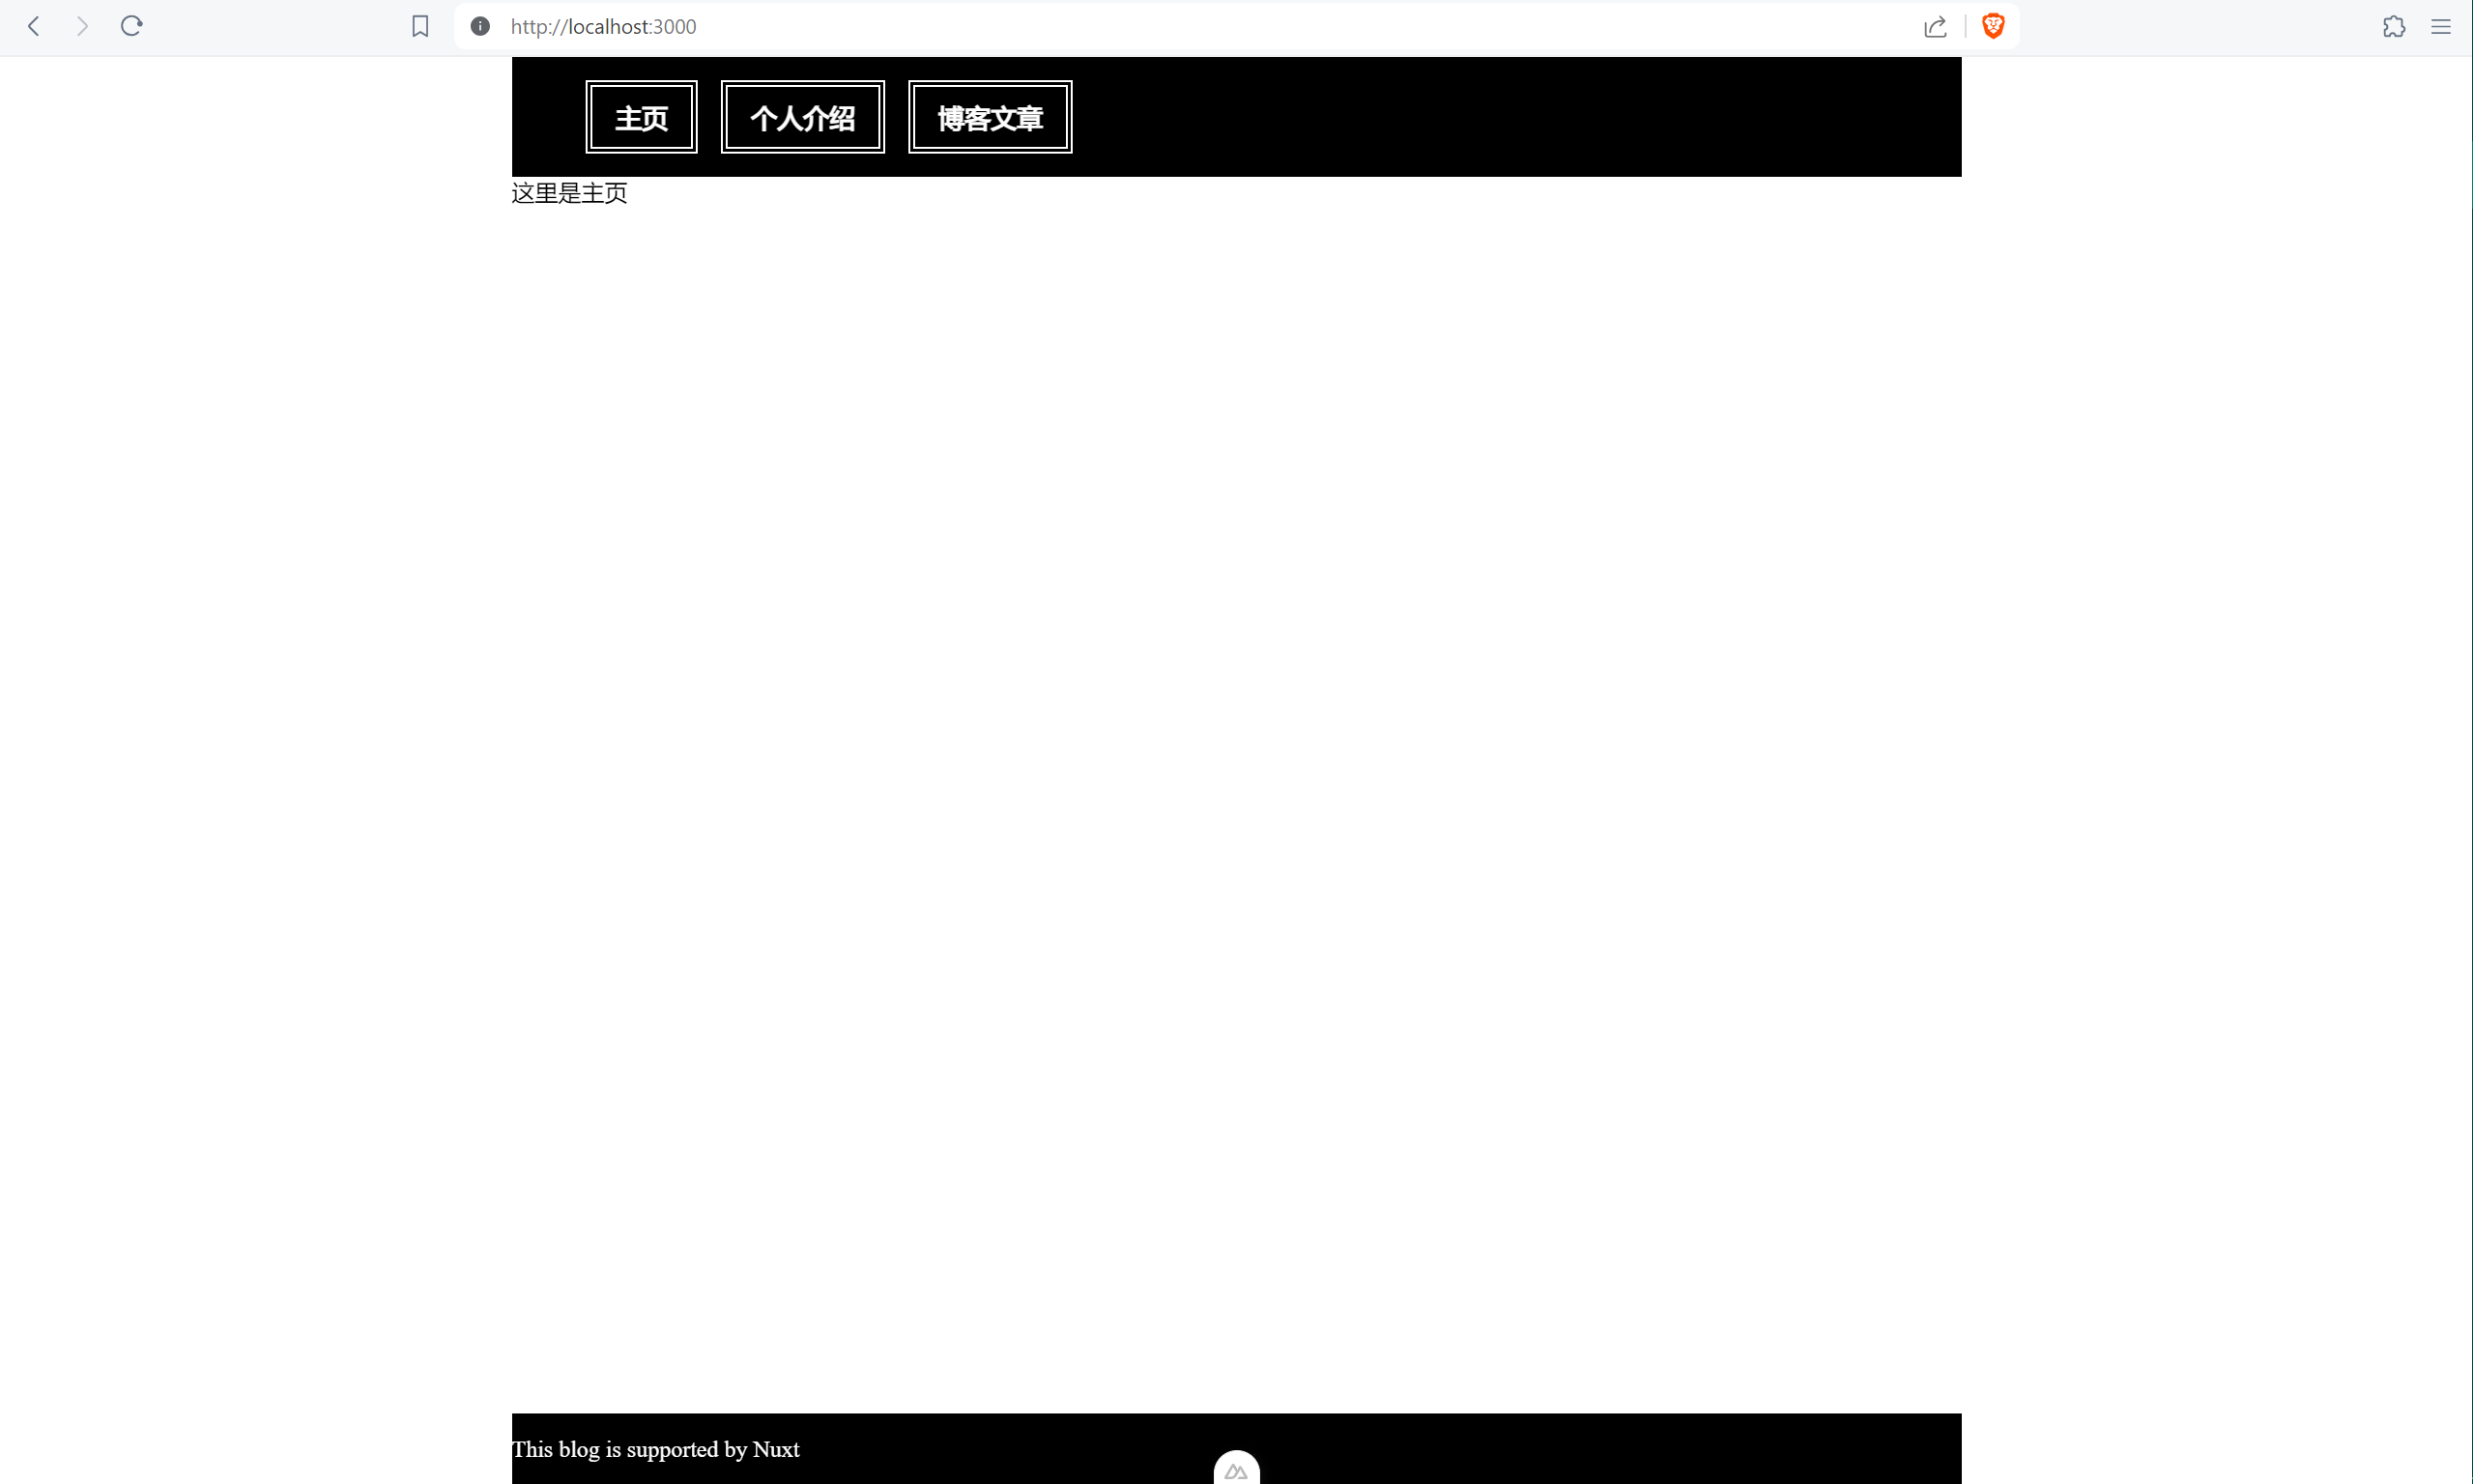
这样,页面两边便出现了留白。但是因为页面内容背景也是白色,边界就不明显。接下来我们就把页面两边的留白颜色调深一点,这样就可以看出边界了。
在项目根目录的 app.vue 的 style 部分中,将 body 元素的样式修改为如下内容:
  body {
    margin: 0px;
    background-color: #fafafa;
  }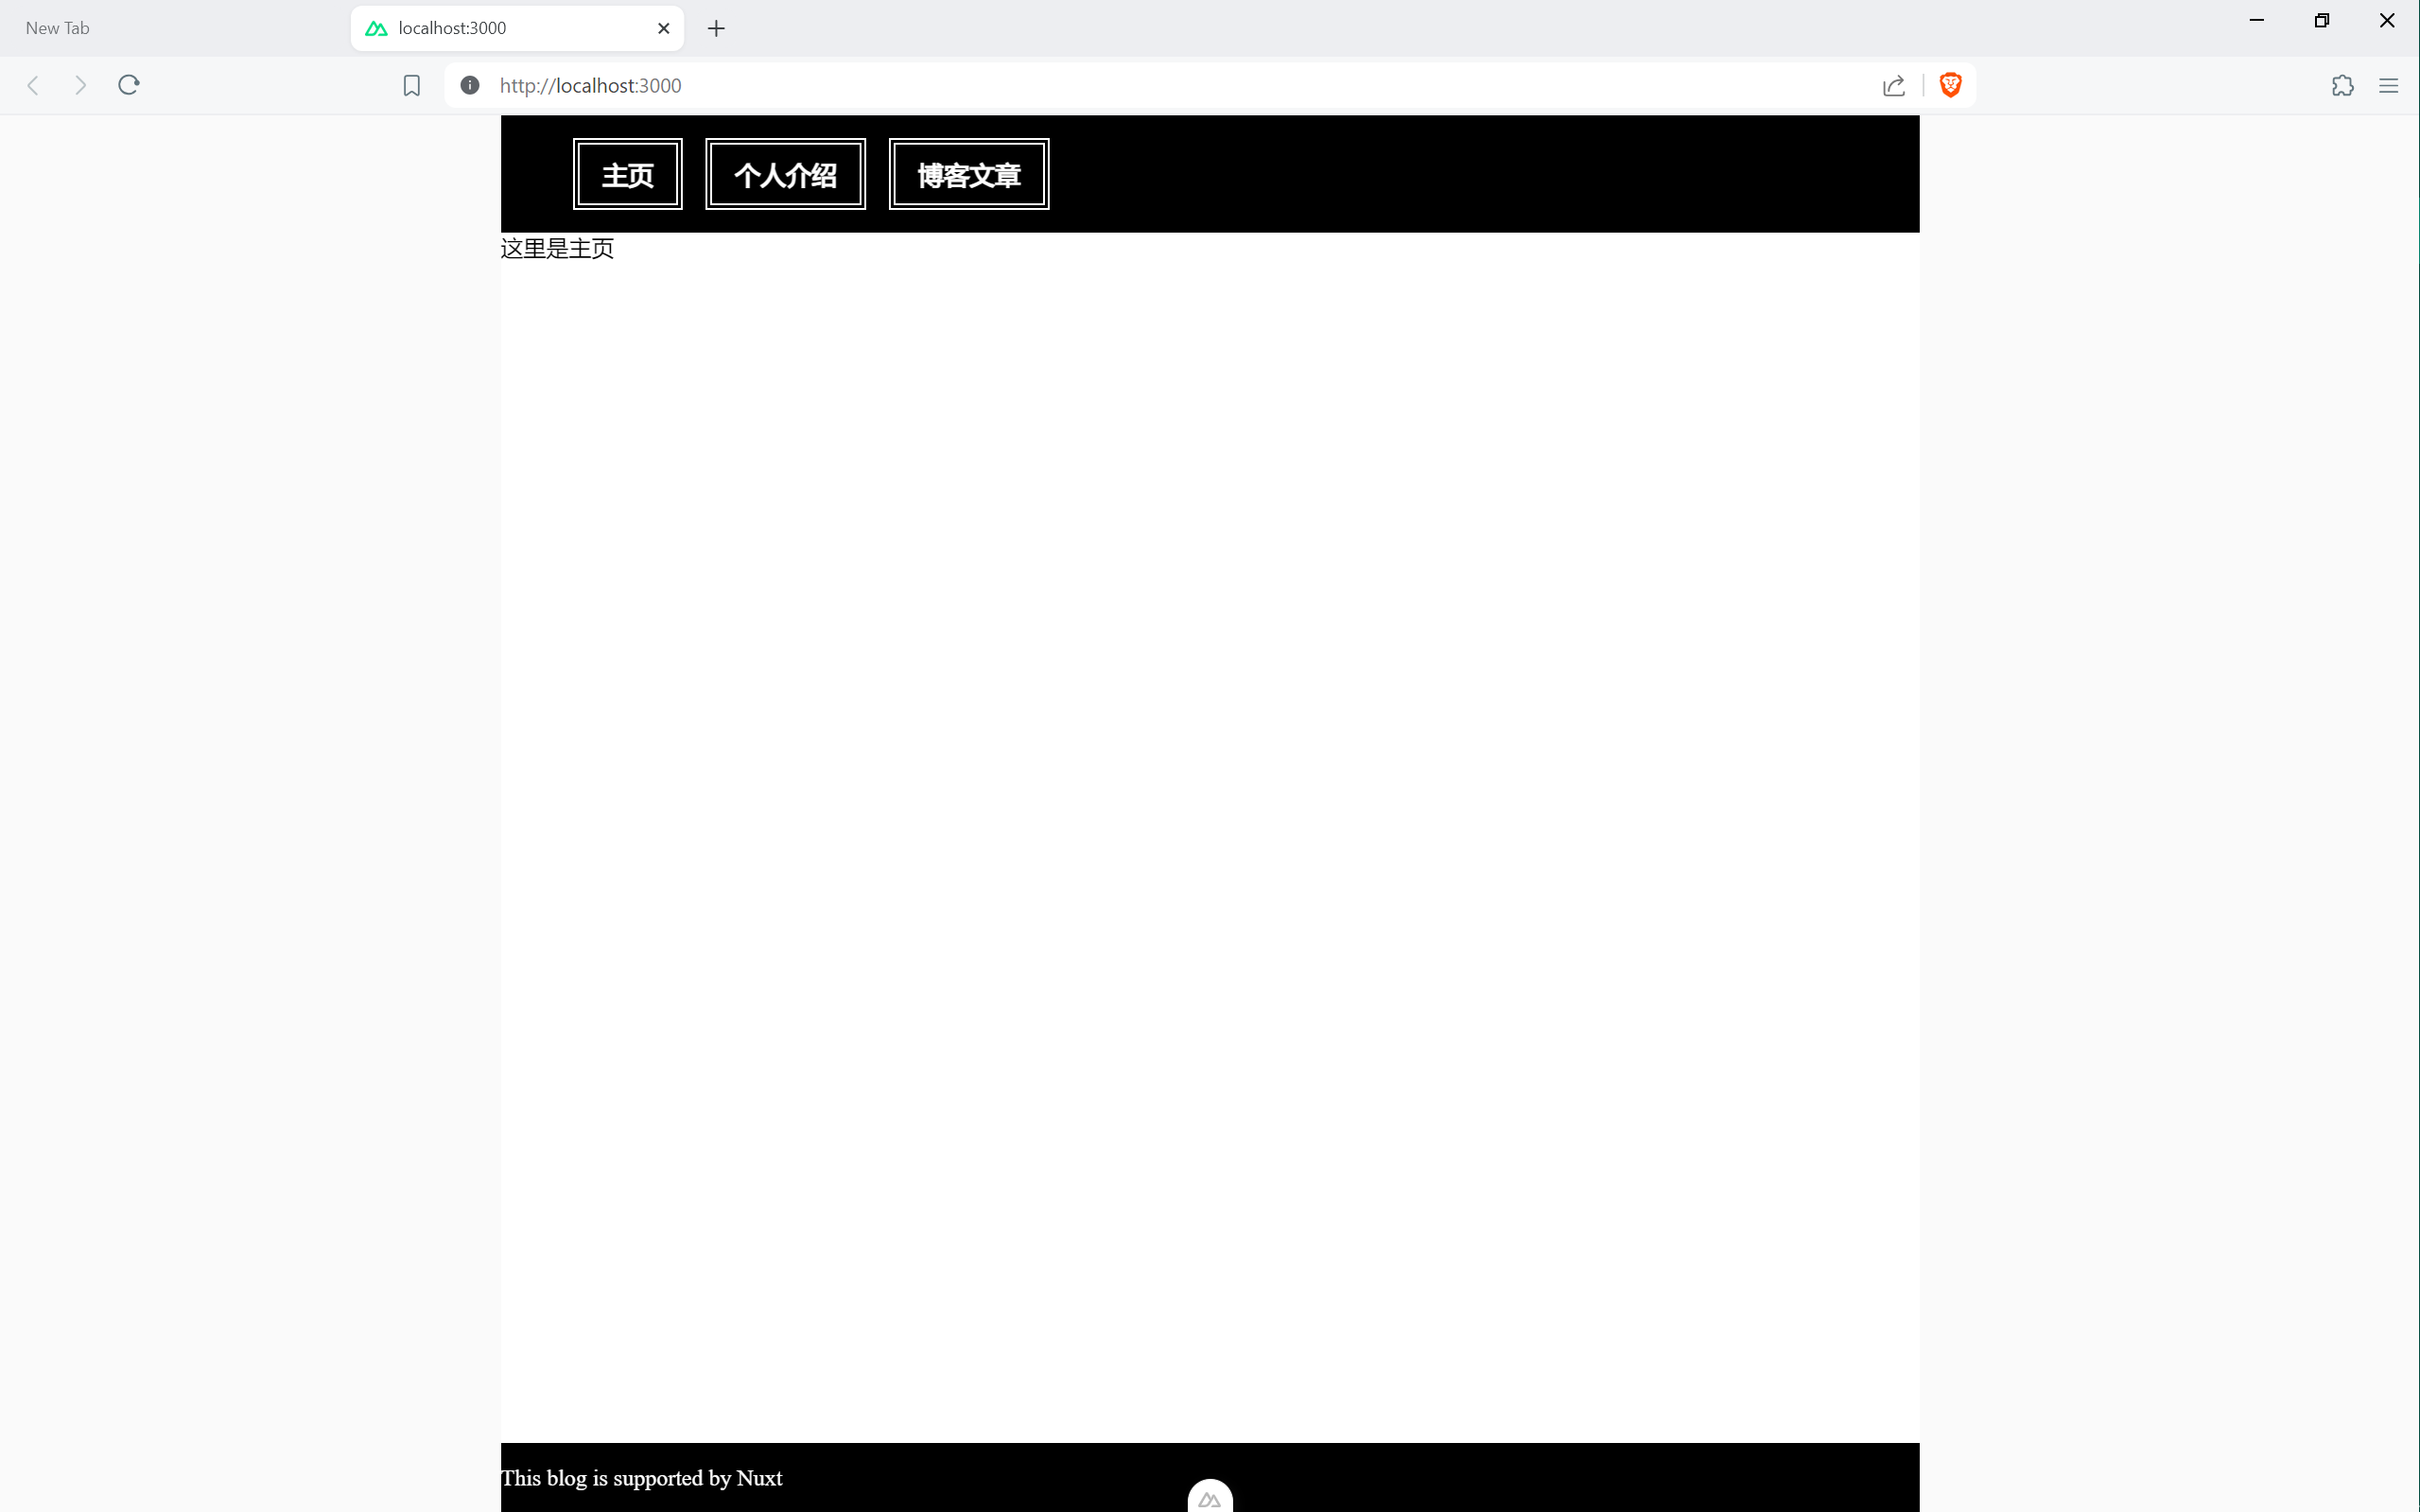
这样页面内容与背景的边界就清晰了,页面也更好看了一些。
设置页面内容边距
页面内容不能与页面背景贴边,不然也不好看。
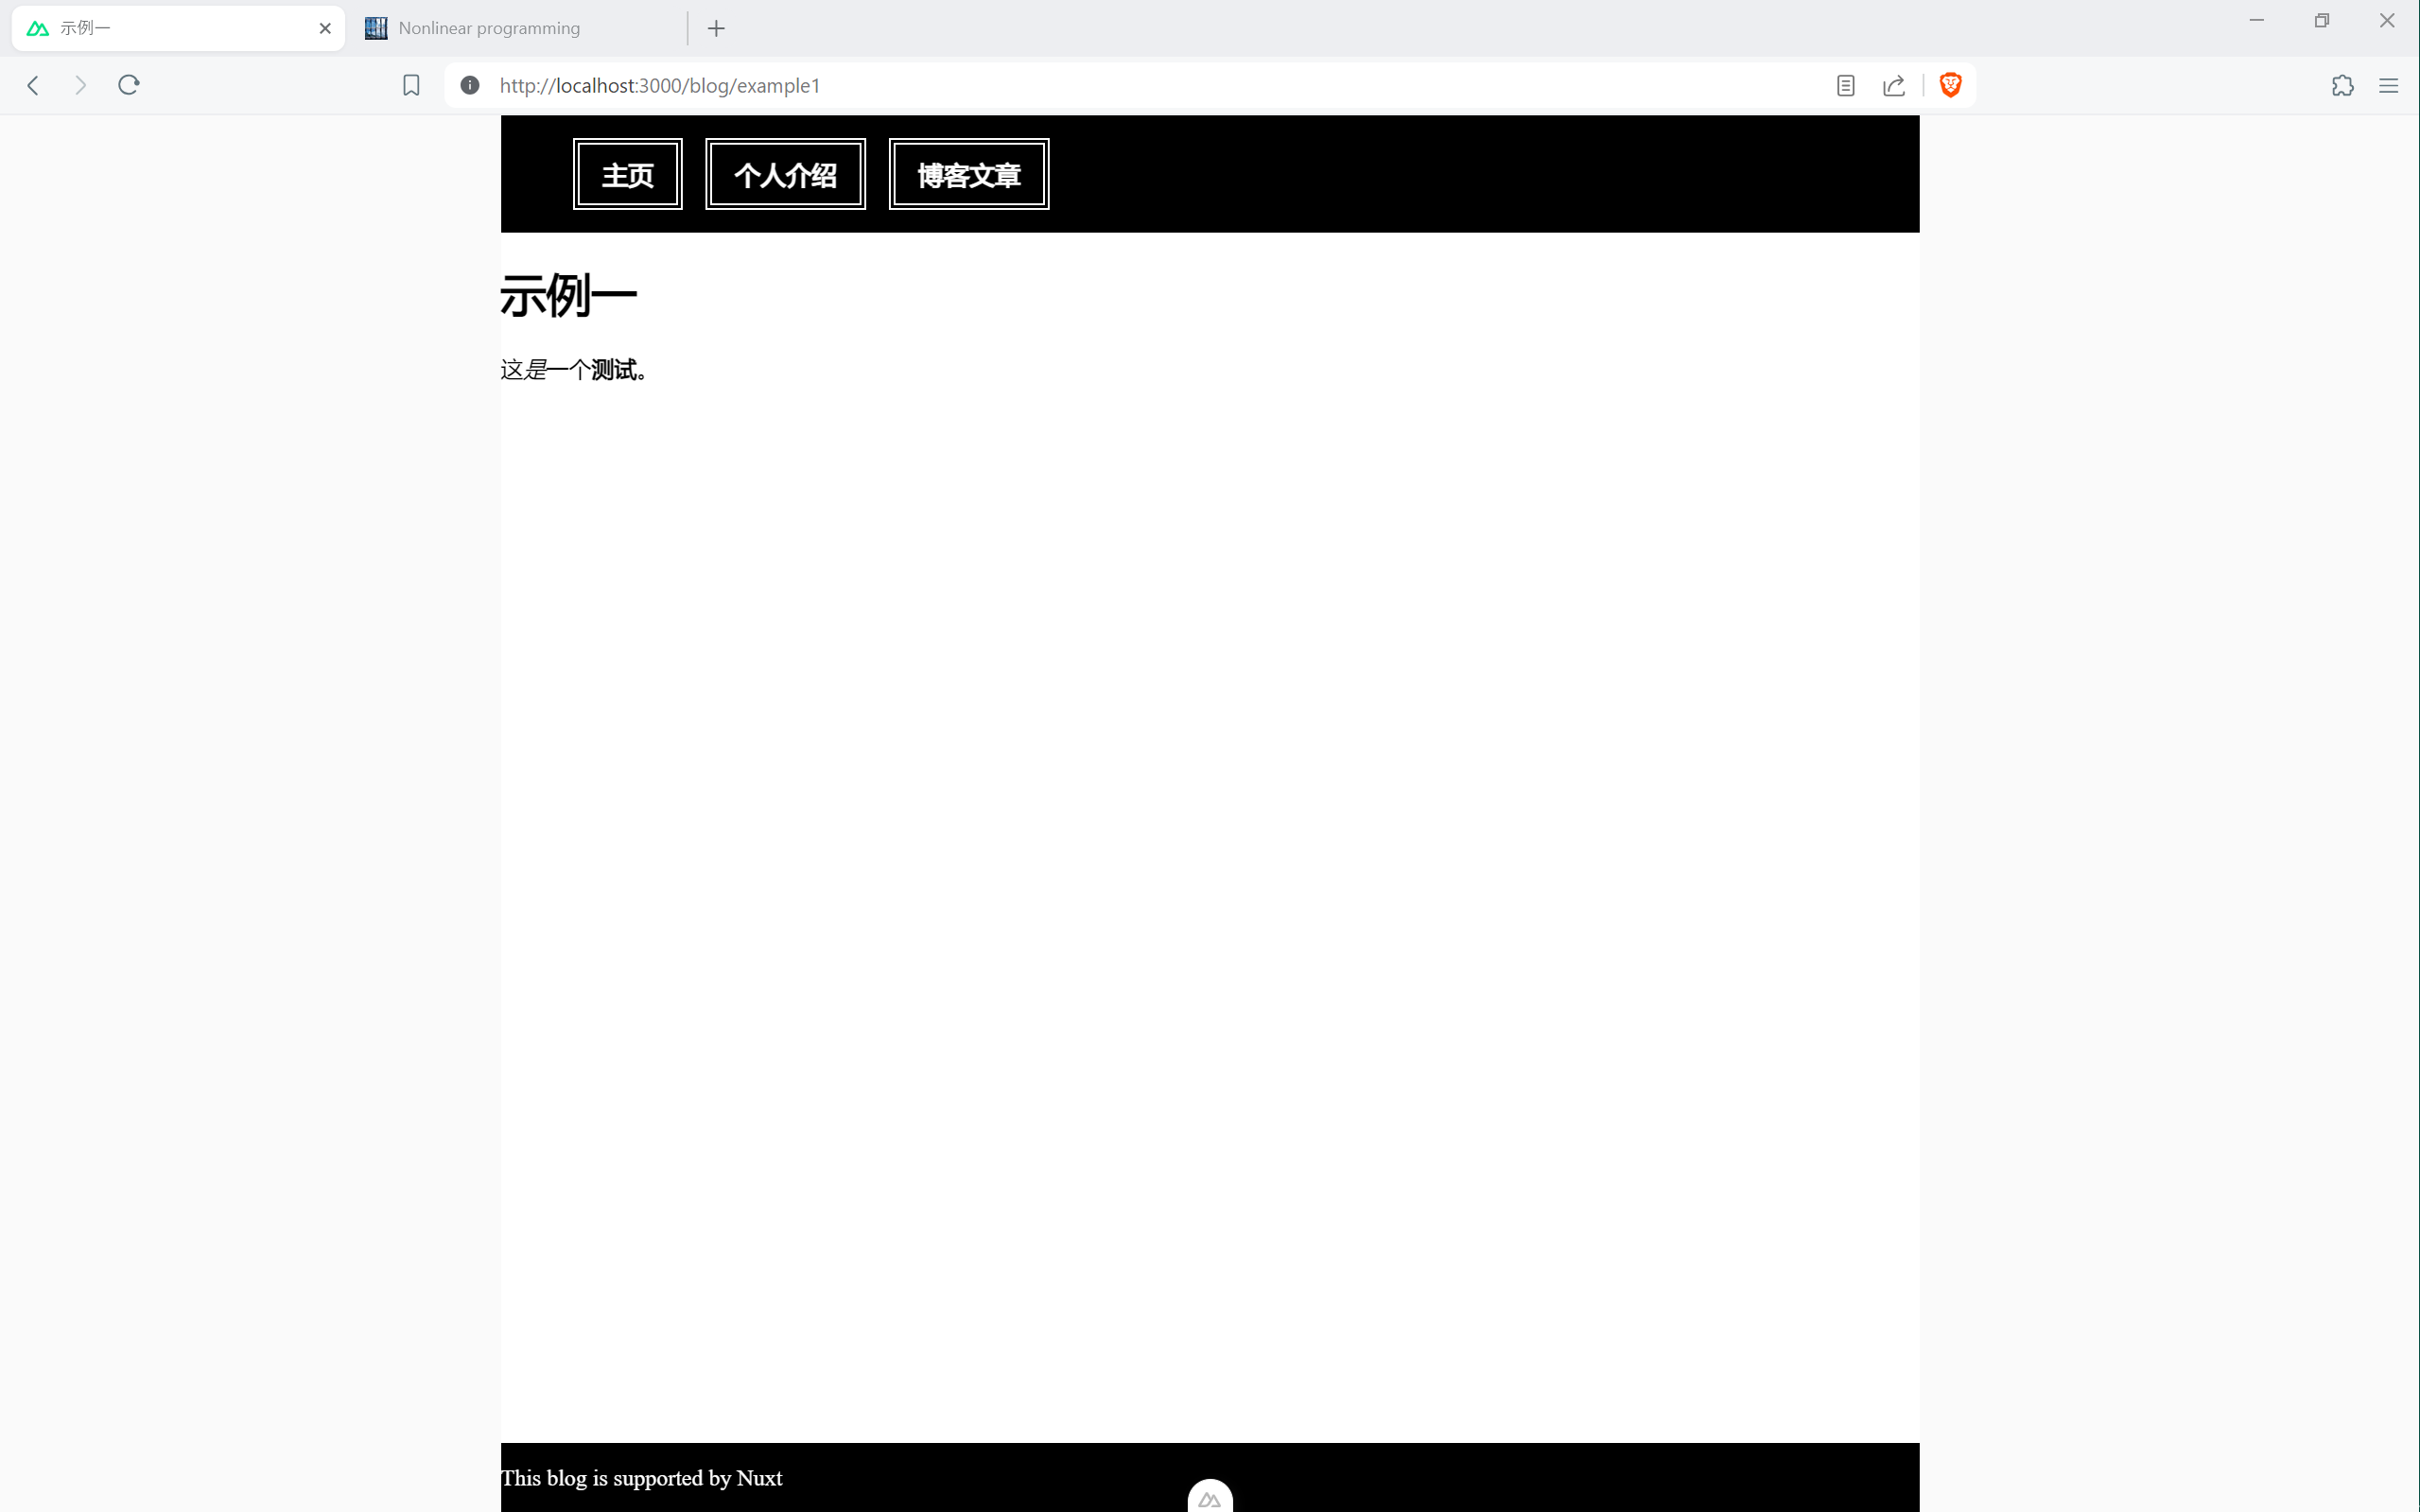
像图中所示,文章标题与内容发生了贴边,非常的不美观。
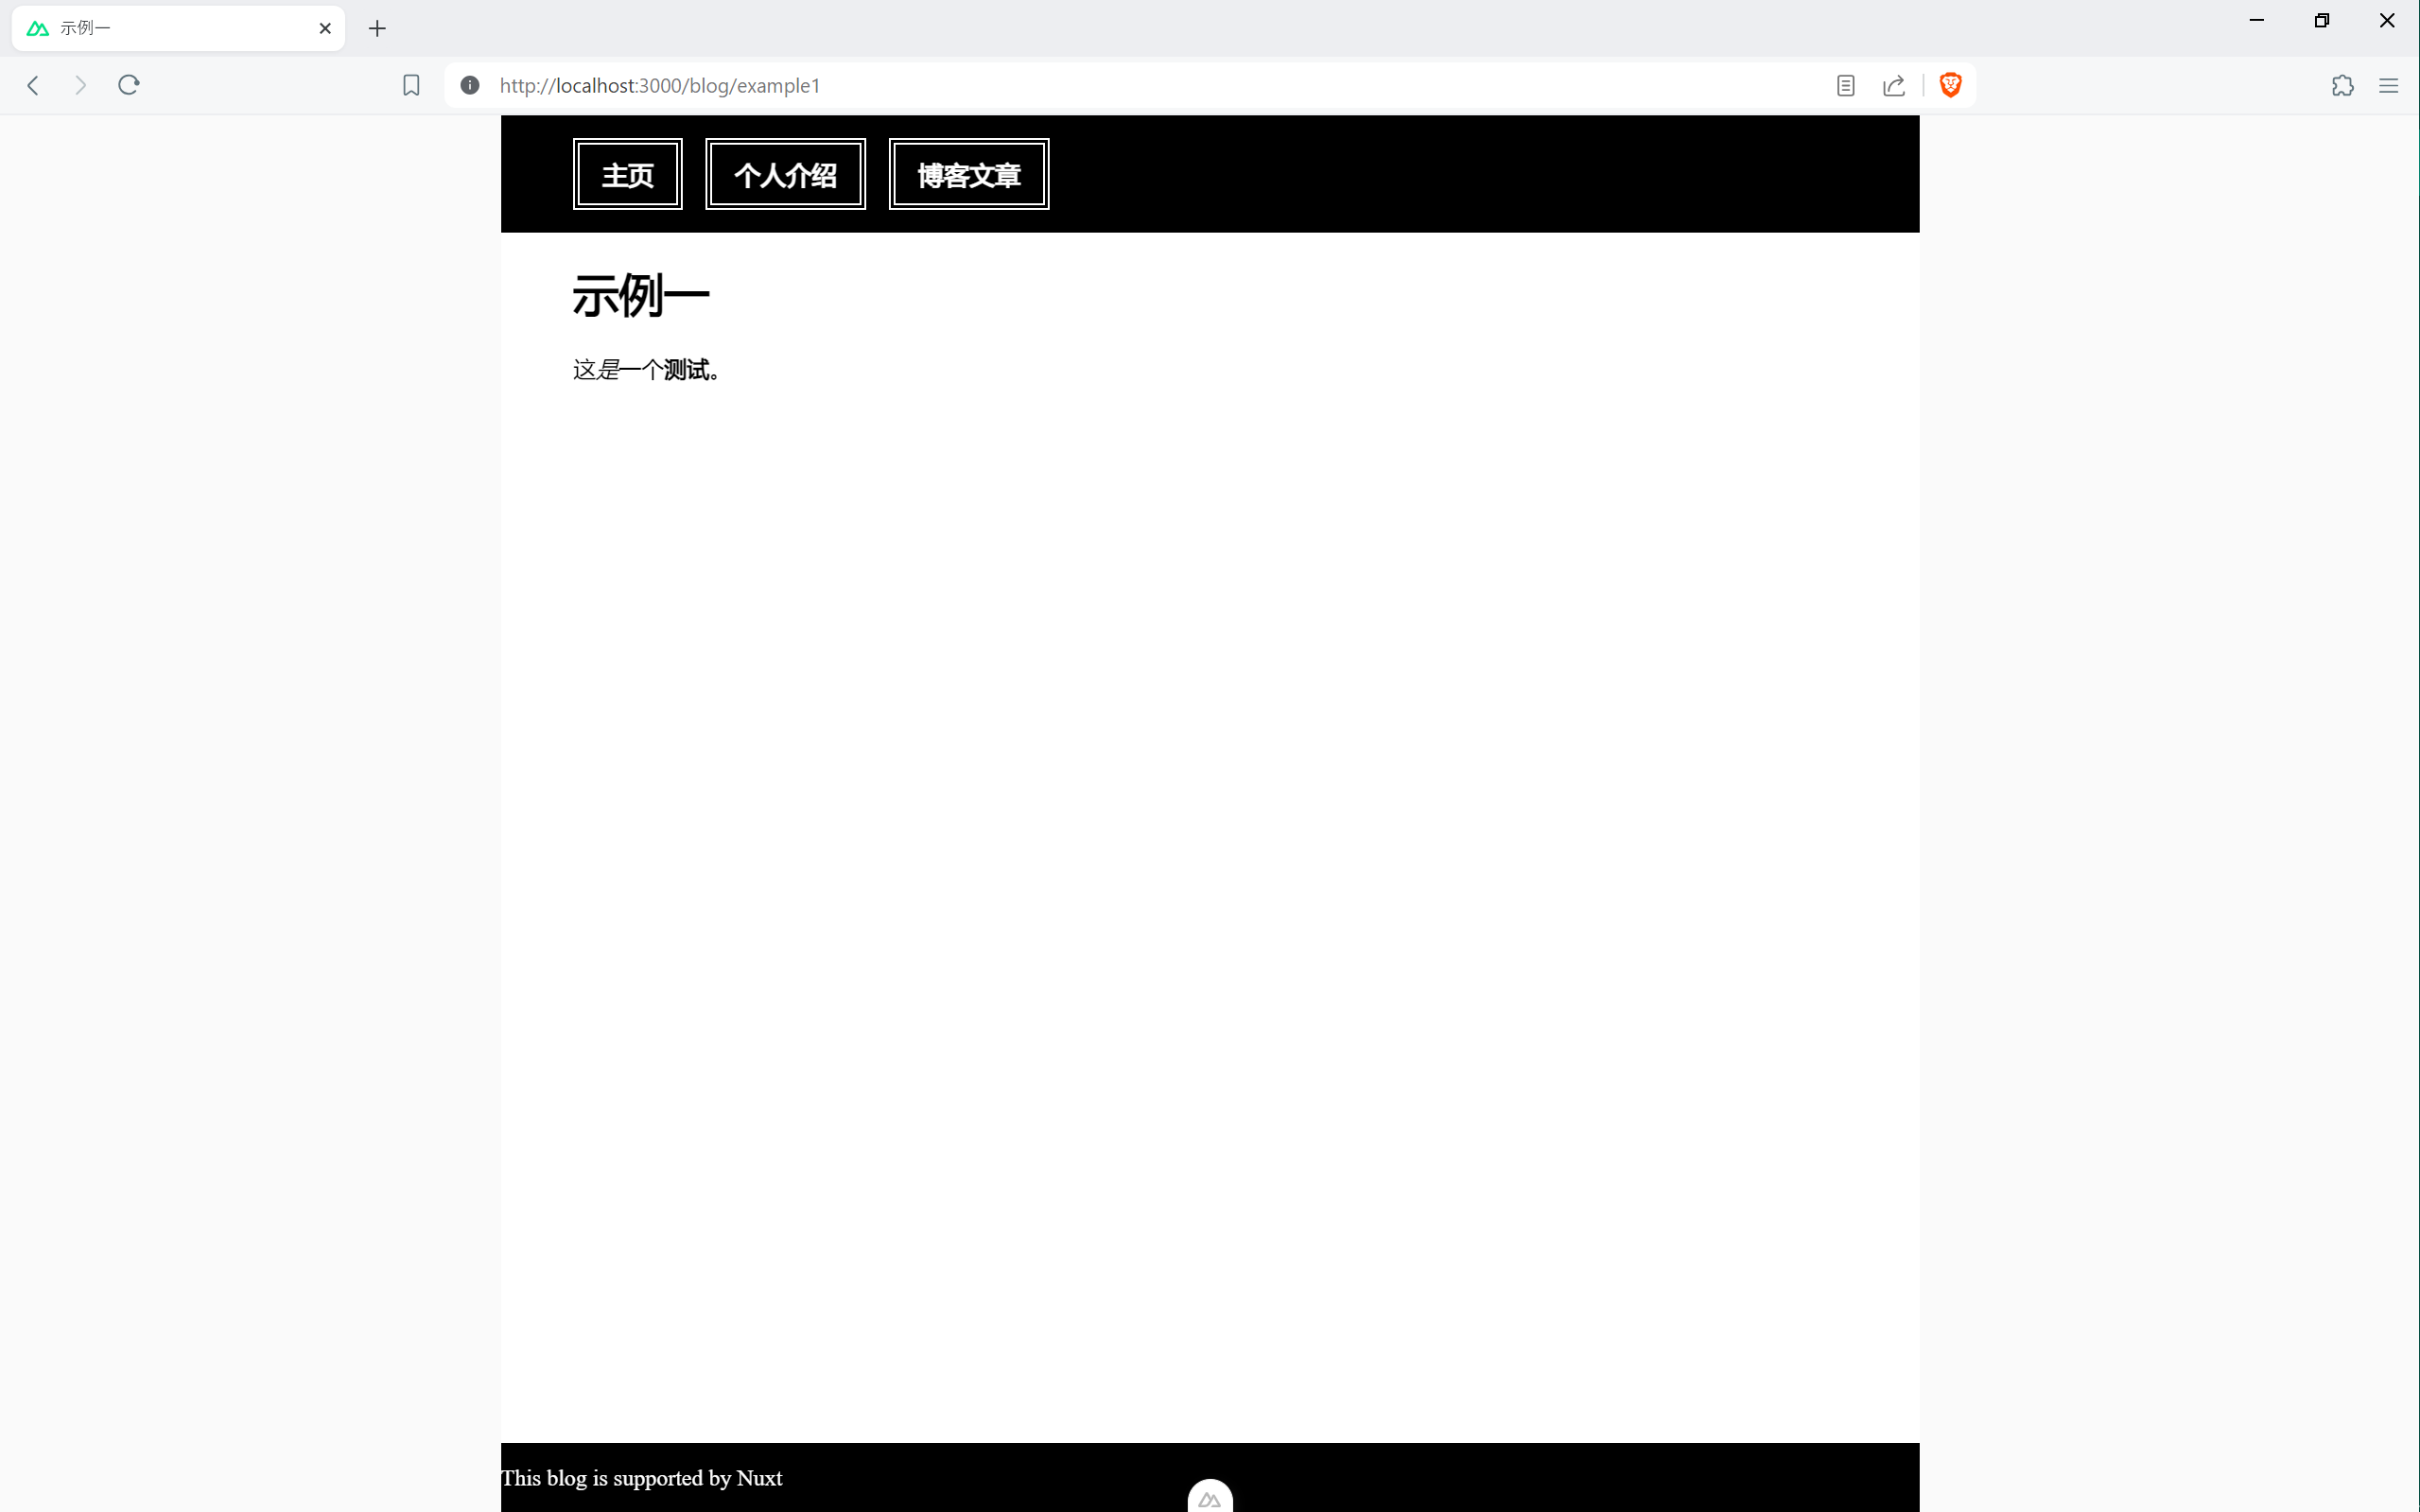
在 @/layouts/default.vue 的 style 部分中,添加 <main> 元素的样式:
  main {
    overflow-x: auto;

    margin-left: 3vw;
    margin-right: 3vw;
  }
这样,内容页面就美观了多。
文章列表美化
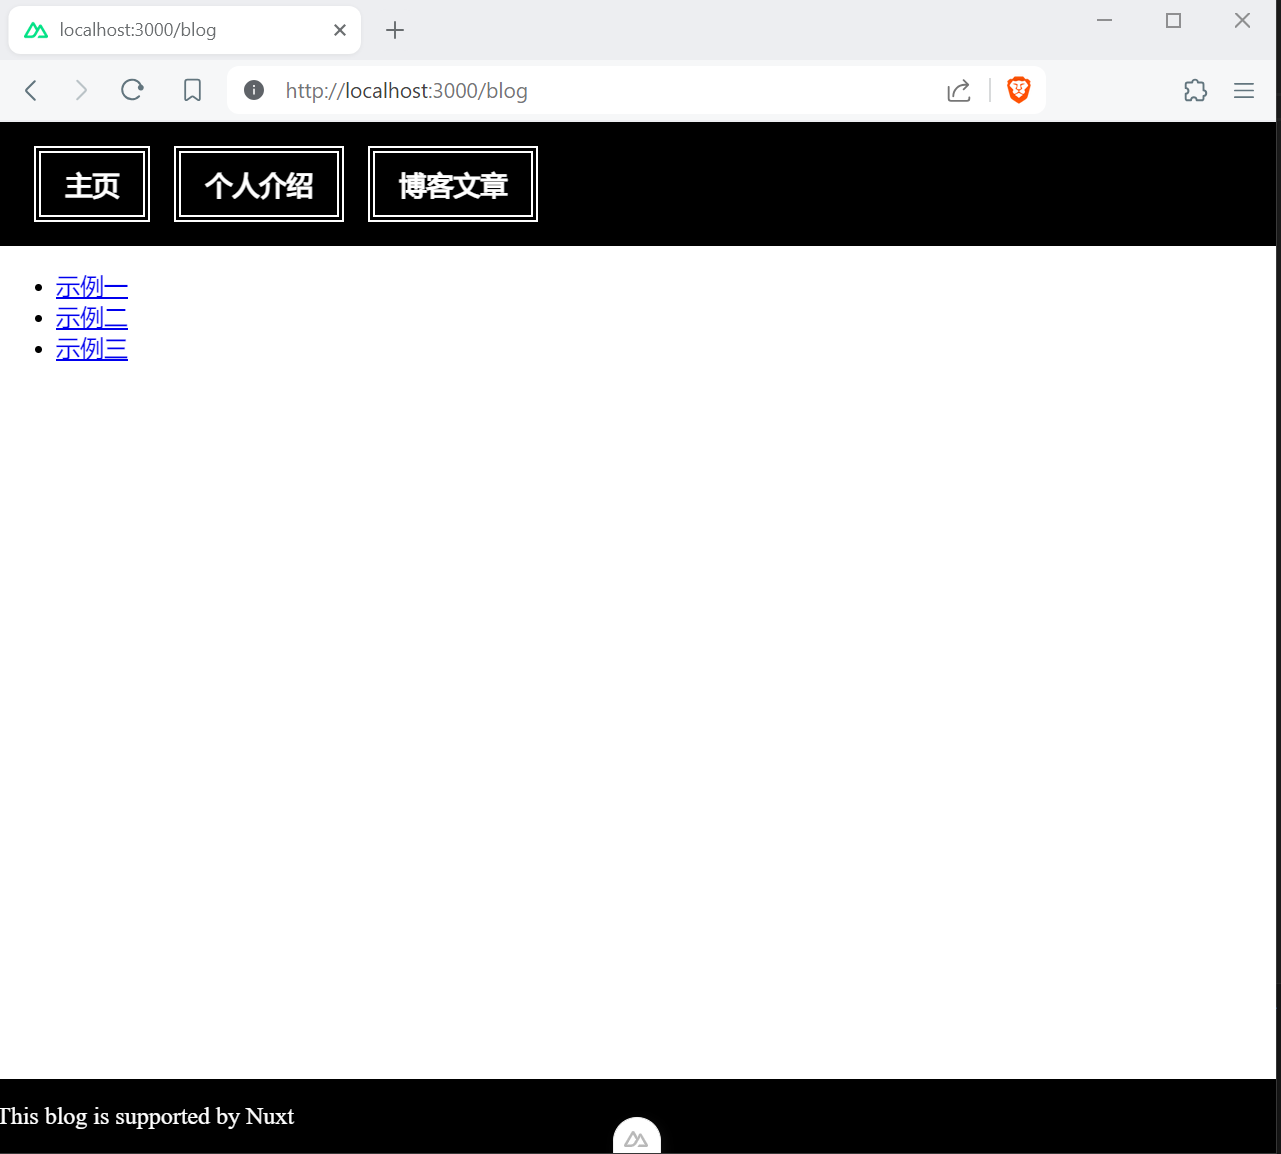
目前文章列表不太美观,我们来美化一下样式。
修改 @/pages/blog/index.vue 的代码如下:
<template>
    <main>
        <ContentList v-slot="{ list }">
            <ul class="blog-list">
                <li v-for="article in list" :key="article._path">
                    <NuxtLink class="article" :to="article._path">
                        {{ article.title }}
                    </NuxtLink>
                </li>
            </ul>
        </ContentList>
    </main>
</template>

<script setup lang="ts">
</script>

<style scoped>
    .blog-list {
        list-style-type: none;
        padding: 0;
        display: flex;
        flex-direction: column;
        gap: 1rem;
        width: 100%;
        margin-bottom: 1rem;
    }

    .article:link, .article:visited {
        font-size: large;
        font-weight: bolder;
        font-family: sans-serif;
        text-decoration: unset;
        color: black;

        padding: 0.5rem 1rem;
        display: block;
        height: 5rem;
        margin: auto;
        outline: black dashed;
    }

    .article:hover, .article:focus {
        background-color: black;
        color: white;
        outline: unset;
    }
</style>
footer 文字居中
之后,我们让 footer 中的文字居中。
文字居中很简单,在默认布局文件中的 css 部分中,添加如下代码即可:
  footer {
    text-align: center;
  }
总结
到此, 我们的页面内容就美化的差不多了。